
This is How to Create an Event in Hubbli
Every event you create shows up in the school calendar. Some events can only be seen by specific groups, some by the whole school, but they all go into the calendar. Here’s how you do it.

To get started, go into your Dashboard.

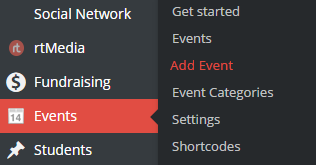
In the sidebar, hover over Events and click on Add Event.
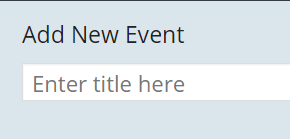
Once you’re in the Add New Event page, give the event a title, then move on to the Event Details section.
The Event Details section is the most important part of creating an event. These all should be filled out before you click Publish.

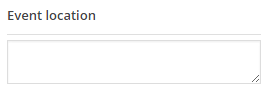
First, add a location for event. If the event is taking place outside of school, like it’s a field trip, put the name of that place. If it’s happening in the school, put the specific room it’s taking place in, like the Gym or Cafeteria, etc. Be specific.
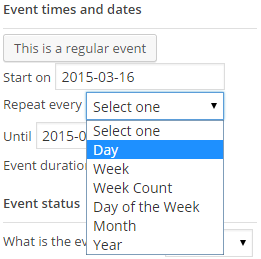
Enter the Start and End dates and times. These are the most important, as you won’t be able to publish your event without these. If it’s an all day event, such as a holiday or Professional Development day, click on “No start time” and “No end time”. If it’s a recurring event, such as Winter or Spring break, click on This is a recurring event.
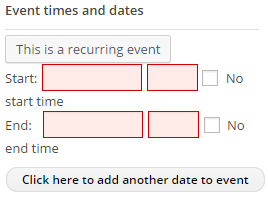
To make a recurring event, for example Spring Break, put the first and last days in Starts on and Until. Then, in the “Repeats every” drop down, choose Day. You don’t need to fill out the “Event duration” box or the “At” box that shows up once you choose how often your event repeats.
Choose an Event Status from one of the following:
Open – available for registration/purchase
Closed – closed to further registration but still shown in event listings
Expired – events that are already passed, these will still show in event listings
Archived – closed and no longer shown in listings
Cancelled – using the Event cancellation add-on, you’ll also have a cancelled status
The default status is open, which means people will be able to RSVP for an event. If you don’t want people to be able RSVP, make it an archived event.

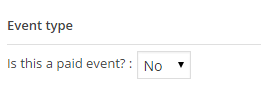
If this is a paid event, choose Yes from the “Is this a paid event” drop-down. A text box will show up where you can say how much the event will cost. This will only show up if you have “
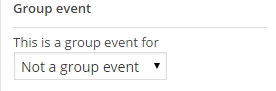
If this is a group specific event, choose the group in the “This is a group event for” drop down. Group events will still show up in the event calendar, but only the members of that specific group will be able to see it.
Entering a description is optional. If you don’t think a description is necessary, leave it blank, click publish and you’re done!

That’s how you Create Events! And as always, if you would rather we just take of this for you then by all means call 1-888-415-4450, email support@hubbli.com or book a support session at https://support.hubbli.com/support-calendar and we’ll take care of this for you.