
This is how to create Individual Student Pages in Hubbli.
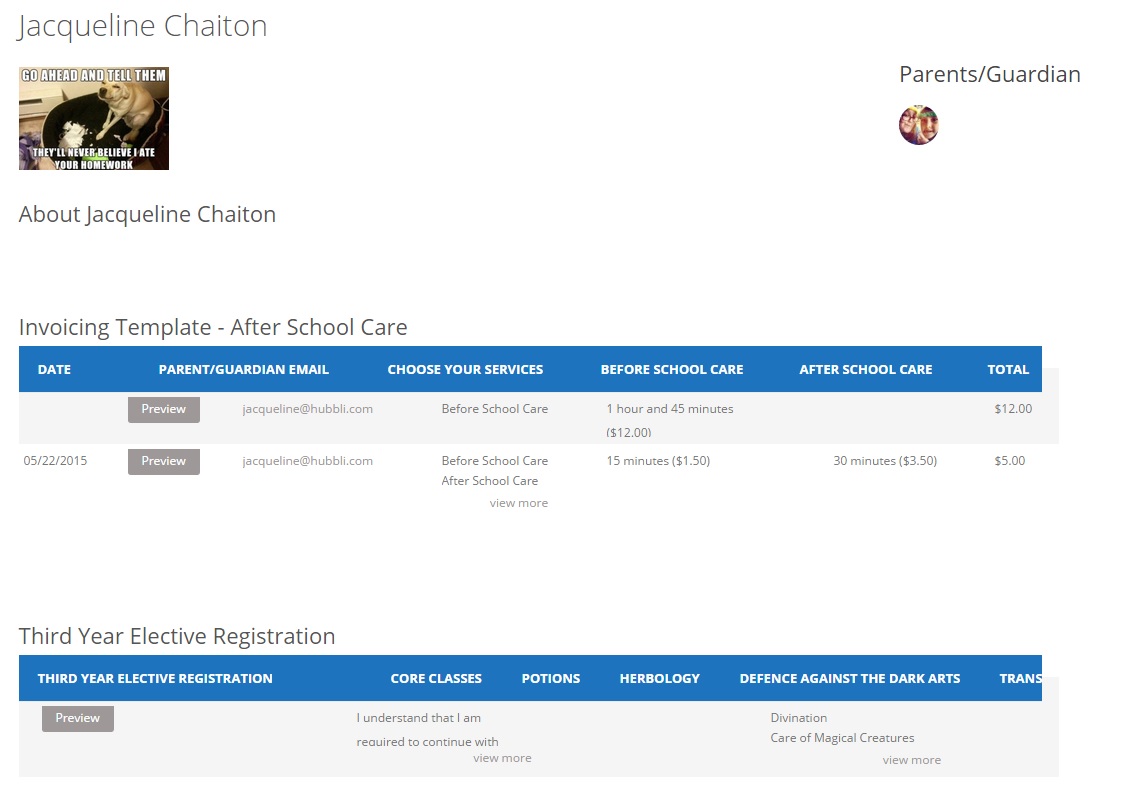
Student Pages are used to track things such as Attendance, Behavior and Progress. It’s completely private, only the Teacher(s) and Parent(s) of a specific student will be able to access their information. It can also be used as a record of any order forms or invoices. But before any of this can happen, you need to create the Students. Students are not users, so they aren’t created the same way a user is. You can create students two ways. The first way is by creating each student individually.
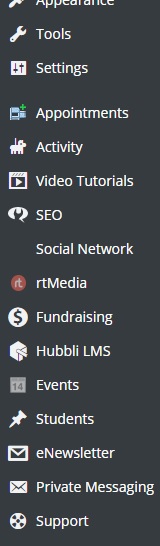 First, go into the dashboard and click on the Students tab.
 At the top of the page, click on Add New.
![]() Where it says “Enter title here”, type in the Student’s Name.
Where it says “Enter title here”, type in the Student’s Name.
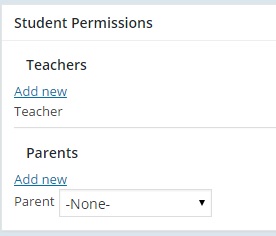
If you already have the Student Page Permissions set for parents and teachers, add them to student.
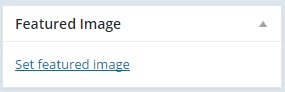
If you have a picture of the student and want to use that, click on “Set featured image”, add the image either from the media library or you can upload it from your computer. Click Publish and you’re done.
That’s how you Create Individual Student Pages! And as always, if you would rather we just take of this for you then by all means call 1-888-415-4450, email support@hubbli.com or book a support session at https://support.hubbli.com/support-calendar and we’ll take care of this for you.